


Hey there! As a supplier of Automatic Power Frequency Testers, I know how crucial it is to ensure the correct installation of sensors in these devices. In this blog, I'll share some tips and steps to help you get it right.
First off, let's talk about why sensor installation is so important. The sensors in an Automatic Power Frequency Tester play a vital role in accurately measuring and monitoring various electrical parameters. If they're not installed correctly, you might end up with inaccurate readings, which can lead to all sorts of problems, from false alarms to improper testing results.
Pre - installation Checks
Before you even start installing the sensors, there are a few things you need to do. First, make sure you have all the necessary tools. You'll typically need a screwdriver, wire strippers, and maybe a multimeter to check for continuity and voltage.
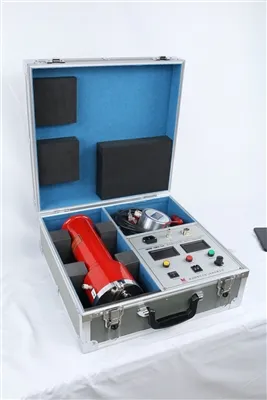
Next, inspect the sensors themselves. Look for any visible damage like cracks, bent pins, or loose connections. If you find any issues, don't use the sensor. Instead, contact us, and we'll send you a replacement. You can also check out our Portable Hipot Tester for more information on related testing equipment.
It's also important to review the installation manual. Our manuals are pretty straightforward, but it's always a good idea to go through them carefully. They'll give you specific instructions on where to place the sensors, how to connect the wires, and any safety precautions you need to take.
Location Selection
The location where you install the sensors is super important. Different sensors are designed to measure different things, so they need to be placed in the right spots.
For current sensors, they should be installed around the conductor where you want to measure the current. Make sure the conductor passes through the center of the sensor to get an accurate reading. Avoid placing the sensor near any magnetic fields or other sources of interference, as this can mess up the measurement.


Voltage sensors, on the other hand, need to be connected directly to the points where you want to measure the voltage. You'll usually need to connect them using appropriate test leads. Again, make sure the connections are secure and that there's no risk of short - circuits.
If you're using temperature sensors, place them close to the component whose temperature you want to monitor. For example, if you're testing a generator, you might want to place the temperature sensor on the generator's windings. You can learn more about generator testing with our Generator Power Frequency Tester.
Wiring and Connection
Once you've selected the right location for the sensors, it's time to do the wiring. Start by stripping the ends of the wires carefully. You don't want to strip too much or too little. Just enough to expose the conductor so you can make a good connection.
When connecting the wires to the sensors, follow the color - coding and the instructions in the manual. Most sensors have specific terminals for different types of connections, like positive, negative, and ground. Make sure you connect the wires to the correct terminals.
After making the connections, use a screwdriver or a crimping tool to secure them. You can also use electrical tape to insulate the connections and prevent any short - circuits. Before you move on, double - check all the connections to make sure they're tight and there are no loose wires.
Calibration
After installing the sensors, you need to calibrate them. Calibration is the process of adjusting the sensors to ensure they're giving accurate readings. Our Automatic Power Frequency Testers usually come with built - in calibration procedures.
First, power on the tester and let it warm up for a few minutes. Then, follow the calibration steps in the manual. This might involve entering some known values into the tester and comparing the sensor readings with those values. If the readings are off, the tester will guide you through the adjustment process.
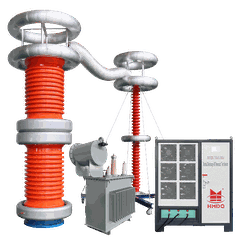
You can also use a high - precision reference device to cross - check the calibration. For example, our 300kV/5mA DC Hipot Tester can be used as a reference for high - voltage measurements.
Testing and Verification
Once you've calibrated the sensors, it's time to test them. Run a series of tests on the Automatic Power Frequency Tester using different electrical signals. Check the sensor readings against the expected values.
If the readings are within the acceptable range, then you're good to go. However, if you notice any significant discrepancies, you might need to go back and check the installation again. Look for any loose connections, incorrect wiring, or damaged sensors.
Safety Precautions
Throughout the installation process, safety should be your top priority. Always wear appropriate personal protective equipment (PPE), like safety glasses and insulated gloves.
Before working on the tester, make sure it's powered off and disconnected from the power source. This will prevent any electrical shocks or short - circuits.
If you're working in a high - voltage environment, follow all the necessary safety procedures. Don't touch any live parts of the tester or the electrical system.
Conclusion
Ensuring the correct installation of sensors in an Automatic Power Frequency Tester is essential for accurate and reliable testing. By following the steps I've outlined in this blog, you can make sure your sensors are installed correctly, calibrated properly, and ready to use.
If you have any questions or need further assistance with the installation or calibration of your sensors, don't hesitate to reach out to us. We're here to help you get the most out of your Automatic Power Frequency Tester. Whether you're in the market for a new tester or need replacement parts, we've got you covered. Contact us today to discuss your procurement needs and start a great partnership with us!
References
- Manufacturer's installation and operation manuals for Automatic Power Frequency Testers.
- Electrical safety standards and guidelines.